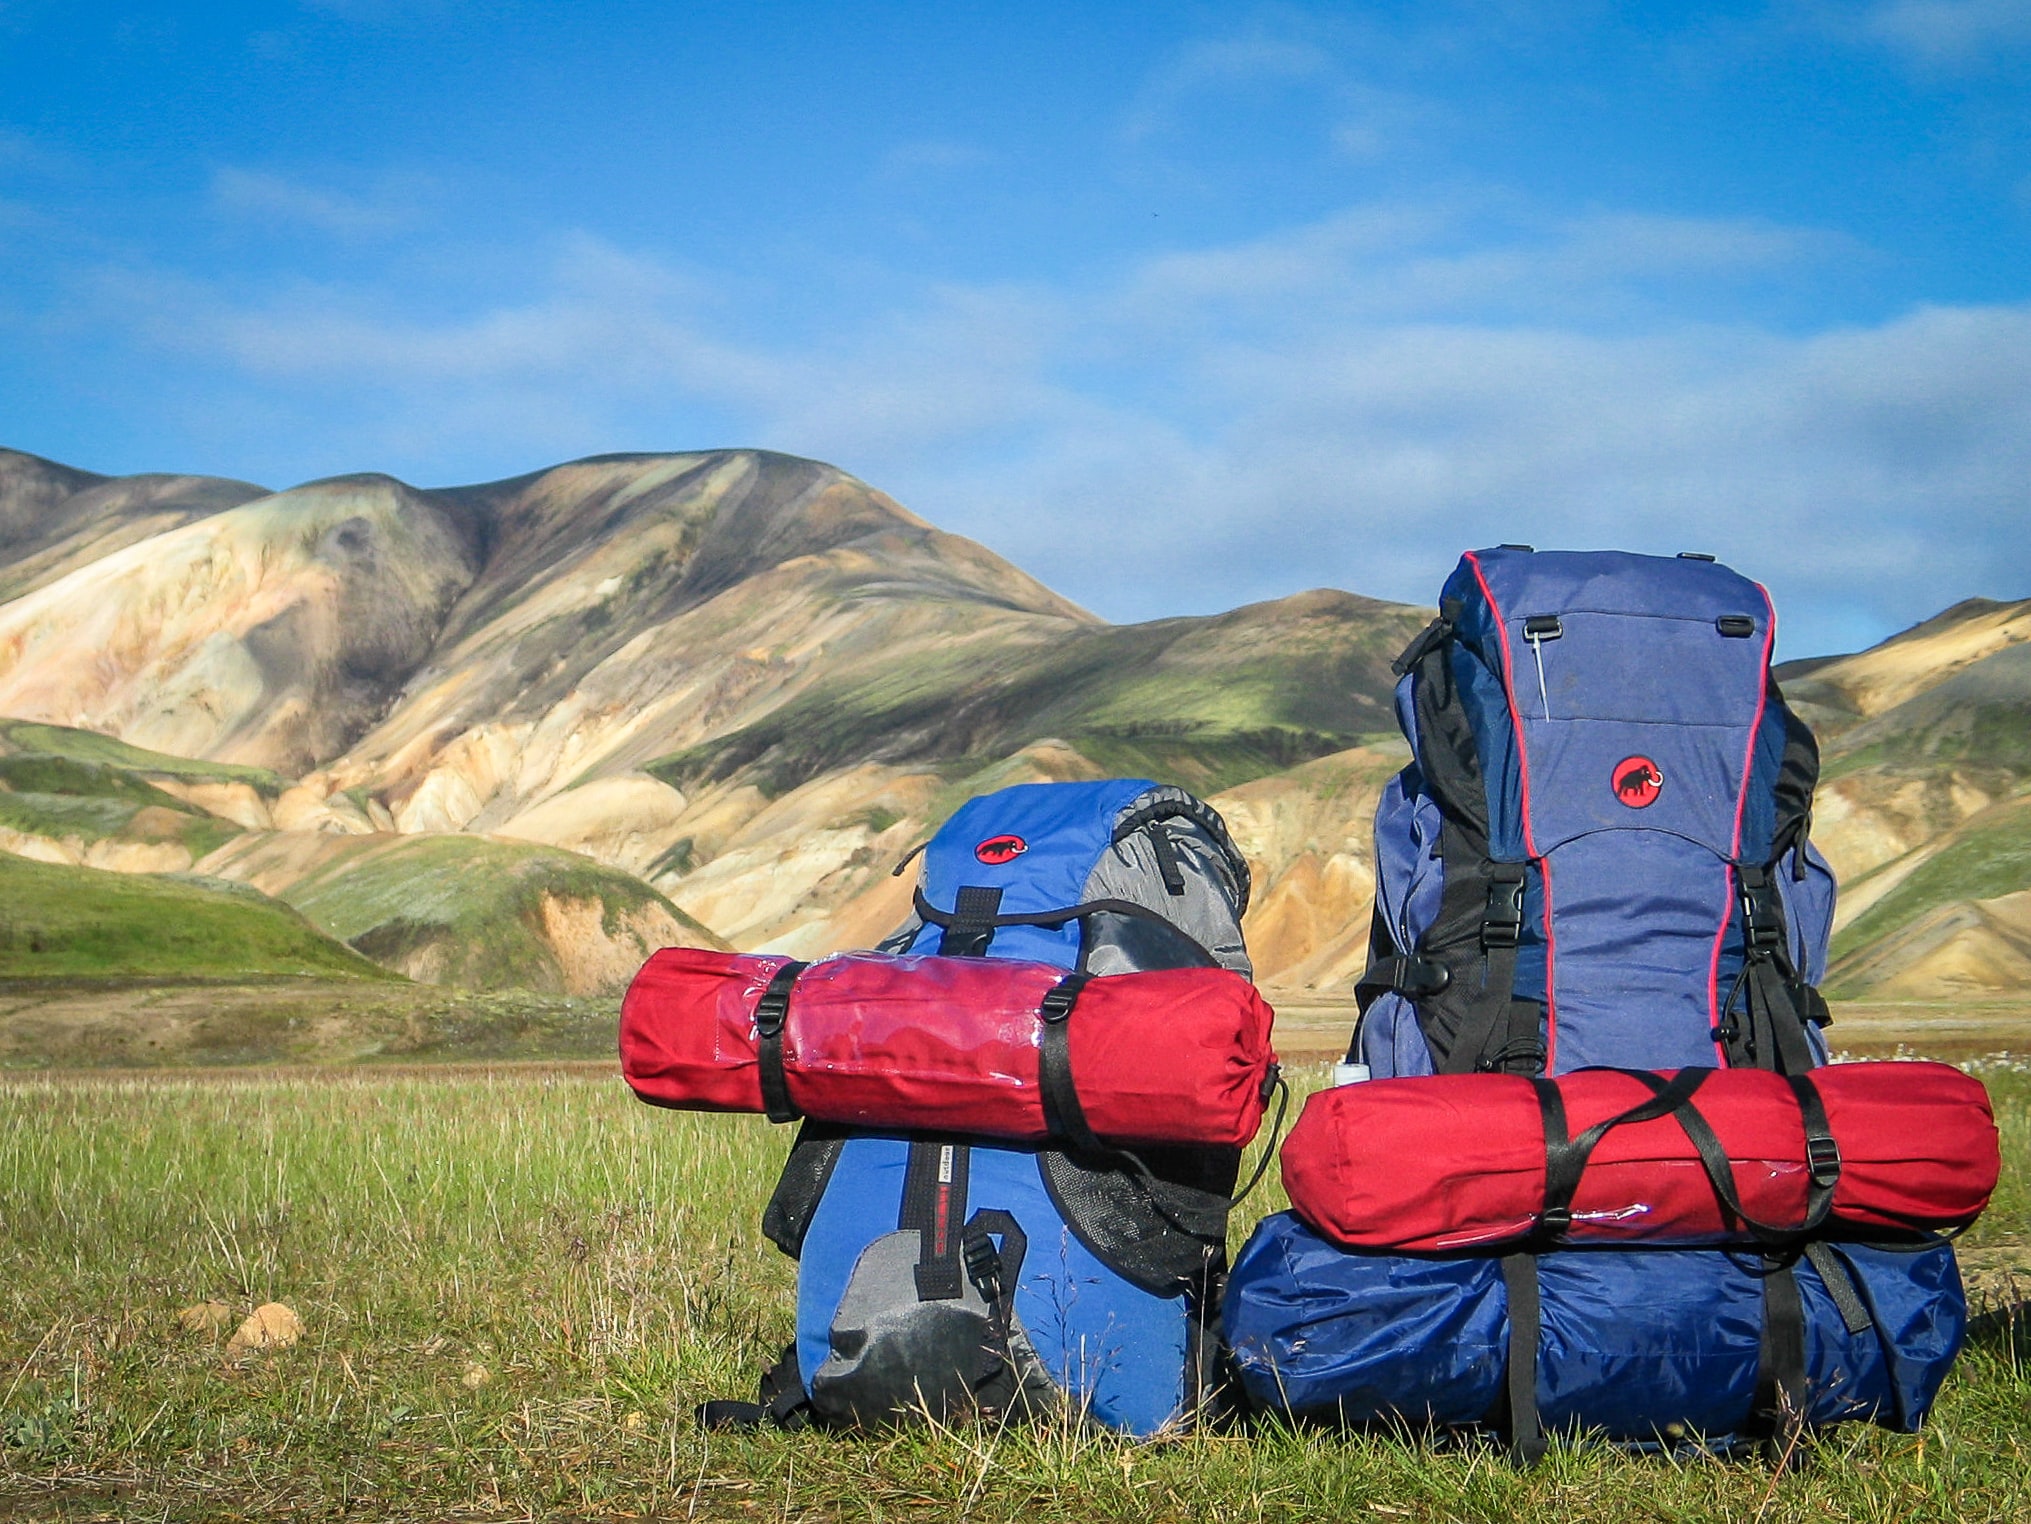
When you plan an overnight hike, you need to make sure you have everything you need in one backpack, including your shelter, food, water, and any other hiking gear you use. You also need to make sure that you strategically pack your bag so you know where your gear is and so your backpack is not top-heavy, which will hurt your back.
To pack your backpack for overnight hiking, you will need to organize your gear into three sections, the bottom section, the middle section, and the top section. Each section will have different types of items that you will need at other points in your hike. You will also utilize any outside pockets that are available when packing small, essential items.
Follow these steps to pack your backpack for an overnight hike. Your backpack will be easy to carry, and you will be able to find everything you need when you need it without entirely unpacking your bag.
Table of Contents
Step 1: Pack the Bottom Section
The bottom section will include the items that you pack first. These items will not be easily accessible during your hike since they will be at the bottom of your backpack, so make sure you do not have anything important like water or food in this section.
Most items in this section will be the light items you will be using at your campsite when you settle down for the night. You will be able to unpack your backpack at your camp easily, so everything at the bottom can come out.
Your campsite items at the bottom are your sleeping bag, sleeping pad, and any clothes you will wear while sleeping.
If you know the weather will be colder at night, put your extra socks, sweaters, and jackets with your sleeping gear. For nighttime at camp, having an extra jacket is useful when the sun goes down. Finding a lightweight and easy-to-pack jacket can be difficult for women, so try one of these ten perfect jackets for women.
A final benefit to having any light, soft items at the bottom of your backpack is to protect your gear. When you set your pack down, the soft items will be fine when they hit the ground. The soft, cushy bottom protects any items higher up in your backpack.
Step 2: Pack the Middle Section
The middle section of your backpack will have all of your heaviest items. Having the heavy items in the center will help balance your bag’s weight, so you do not strain your back or body while hiking.
Similar to the bottom section, this middle section will be gear that you do not need during your hike, but instead, you will need at night. Heavy items you need for your camp include cooking gear, the extra water you will need at night or during the second day, and your food for the night.
When packing this section, think of it as your core or center of gravity. You need your heaviest and densest items at the center of your backpack. These items will all be cushioned by your soft bottom layer.
Another way to make your backpack easy to carry is to keep this middle section close to your back. Your center of gravity will be adjacent to the backpack’s center of gravity, so your bag will not feel as heavy when you carry it on your back.
Additionally, you can use a few items from your bottom section, like clothing, to protect your center gear. You can wrap clothing or a light blanket around any cooking gear or water bottles to keep them from shifting or breaking.
The most important thing about this section is having the heavy items here so that your backpack is easier to carry and does not strain your body. Since you will have a lot of gear on an overnight hike, keeping your backpack as light as possible will make your hike easier.
Step 3: Pack the Top Section
The final section of your backpack is the easily accessible top section. The top section is where all the items that you may need during your hike will be stored. These items include rain gear, toilet paper, medical supplies, extra socks, water, and snacks.
You may need to access this gear during your first day of hiking quickly, but you will not be wearing or using it at the beginning.
Nothing too heavy should be in this section to prevent your backpack from being top-heavy. A top-heavy bag will make your hike harder, and your bag will strain your body.
Since water can be heavy, you should place only the water you need during the day in the top section of your backpack. Any extra water for nighttime or your second day of hiking will be in the middle section.
If you are doing any photography during your hike, you will want to make sure you put any cameras and extra batteries in this section. You never know when a picture-perfect moment will arise, so you want your camera to be ready!
Action cameras can be great for hiking since they are small and usually weatherproof. If you need a small, cheap camera, here are ten great action cameras under $100.
Step 4: Pack Outside Pockets
Any extra outside pockets on your backpack are perfect for small items you do not want to lose. You can put keys, sunglasses, snack bars, sunscreen, and camera accessories in these pockets.
Outside pockets are also easier to access than your main inside pocket, so you can grab these items at any time without worrying about the big stuff in your largest pocket.
It is important not to put anything too heavy in the outside pockets or overpack them. If you do, your backpack’s center of gravity will move away from your body, making it more challenging to carry during your hike.
Any side pockets on your backpack are great for items you need to grab while walking, like water bottles. You can reach around and grab something from these pockets without needing to take off your entire backpack.
Important Reminders
Make sure the essential items are accessible at all times. Your most important items will be your water, food, and any medical or safety equipment.
This packing method is for convenience, and so your backpack is not top-heavy, and the bulk of the weight is in the center near your back. Having the heavy items in the center will make your hike easier since you are not worrying about a heavy pack hurting you.
When you repack your bag in the morning, make sure to follow these same steps. If you are leaving your campsite and heading to your car on the same day, make sure you know exactly where your car keys are!
If you are worried that your backpack is too heavy, read this article about hiking backpack weight to determine if you are overpacking. Strategically packing your bag for an overnight hike is crucial if you want an easy-to-carry backpack with easy to find items.
Knowing how to properly pack your backpack for an overnight hike and access your items in your backpack when you need them without having to take everything out will make your overnight hike fun and easy!